1 概述
新做的博客系统需要在 markdown 文本中插入图片, 之前完成过上传图片的相关配置,但未做总结,借着这个机会,对于 springboot 上传图片接口的相关配置和操作,做一个系统性阐述。以作为未来相关业务的参考。
本文主要阐述后端相关配置,少量前端(vue3)内容仅是为了作为测试。
2 配置文件
配置相关信息仅需两步:
- 在
yaml 文件中配置 相关路径 和 静态资源。
- 在配置类中配置静态资源处理器。
2.1 yaml 文件配置
为保证上传路径的 可配置性,这里的上传路径相关字符串全部配置在 application.yaml 文件中,然后再使用 @Value() 注解注入即可。
注:无关配置已省略
1
2
3
4
5
6
7
8
9
10
11
12
13
14
15
16
17
| upload:
upload-path: ./upload
image:
user: ${upload.upload-path}/image/avatar
common: ${upload.upload-path}/image/common
spring:
web:
resources:
static-locations: classpath:/static/, file:${upload.upload-path}
servlet:
multipart:
max-file-size: 100MB
max-request-size: 100MB
|
2.2 配置类
这里主要配置静态资源处理器,可以理解为请求 url 到文件路径的映射。
1
2
3
4
5
6
7
8
9
10
11
12
13
14
15
16
|
@Configuration
public class ResourceConfig implements WebMvcConfigurer {
@Value("${upload.upload-path}/")
private String uploadPath;
@Override
public void addResourceHandlers(ResourceHandlerRegistry registry) {
registry.addResourceHandler("/upload/**").addResourceLocations("file:" + uploadPath);
WebMvcConfigurer.super.addResourceHandlers(registry);
}
}
|
3 保存图片
配置好上传路径和静态资源处理器后,就需要向外提供保存图片的接口了。
这里需要在 service 层和 controller 层提供相应的保存图片以及把相关数据保存至数据库的方法。
3.1 service 层
1、service 接口:
1
2
3
4
5
6
7
8
9
10
| public interface PictureService extends IService<Picture> {
Picture uploadImage(String url, MultipartFile file);
}
|
注意我这里继承 IService<Picture> 是因为我使用了 Mybatis-Plus ,不影响本文阐述功能。
2、serviceImpl 实现类:
1
2
3
4
5
6
7
8
9
10
11
12
13
14
15
16
17
18
19
20
21
22
23
24
25
26
27
28
29
30
31
32
33
34
35
36
37
38
39
40
41
42
43
44
45
46
47
48
49
50
51
52
53
54
55
56
57
58
59
60
61
62
63
64
65
66
67
68
69
70
71
72
73
74
75
76
77
78
79
80
81
82
83
84
85
86
87
88
89
90
91
92
93
94
95
96
97
98
99
100
101
102
103
104
105
106
| @Service
public class PictureServiceImpl extends ServiceImpl<PictureMapper, Picture>
implements PictureService{
private final Logger logger = LoggerFactory.getLogger(PictureServiceImpl.class);
@Value("${upload.image.common}/")
private String commonPath;
private final String datePathFormat = "yyyy/MM/dd/";
private final SimpleDateFormat sdf = new SimpleDateFormat(datePathFormat);
@Override
public Picture uploadImage(String url, MultipartFile file) {
String formatDate = sdf.format(new Date());
String newFileName = getNewFileName(file.getOriginalFilename());
String imageDirPath = commonPath + formatDate;
File imageDir = new File(imageDirPath);
if (!imageDir.exists()){
imageDir.mkdirs();
}
String imageFilePath = imageDirPath + "/" + newFileName;
try {
file.transferTo(new File(imageDir.getAbsoluteFile(), newFileName));
} catch (Exception e){
logger.error("文件 {} 保存失败", imageFilePath, e);
return null;
}
Pattern pattern = Pattern.compile("(.*)/admin/picture.*");
Matcher matcher = pattern.matcher(url);
String urlPrefix = "http://localhost:18080";
while(matcher.find()){
urlPrefix = matcher.group(1);
}
String urlPath = urlPrefix + "/upload/image/common/" + formatDate + newFileName;
Picture picture = new Picture();
Date nowDate = new Date();
picture.setCreated(nowDate);
picture.setEdited(nowDate);
picture.setPath(urlPath);
picture.setStatus(1);
String pictureId = IdWorker.getIdStr(picture);
picture.setId(pictureId);
save(picture);
return picture;
}
public String getNewFileName(String oldName){
if (StrUtil.isEmpty(oldName)){
return null;
}
Pattern sufixPattern = Pattern.compile(".*(\\..*)");
Matcher matcher = sufixPattern.matcher(oldName);
String newFileName = UUID.randomUUID().toString();
if (matcher.find()){
newFileName += matcher.group(1);
}
return newFileName;
}
}
|
3.2 controller 层
1
2
3
4
5
6
7
8
9
10
11
12
13
14
15
16
17
18
19
20
21
22
|
@RestController
@RequestMapping("/admin/picture")
public class PictureController {
@Autowired
private PictureService pictureService;
@PostMapping("/uploadImage")
public Result uploadImage(HttpServletRequest request, @RequestParam("file") MultipartFile file){
if (file == null) {
return Result.formatError("文件错误");
}
Picture picture = pictureService.uploadImage(request.getRequestURL().toString(), file);
return picture != null ? Result.success(picture) : Result.error("上传图片失败");
}
}
|
4 前端调用
这里我开发的是 vue3 整合 v-md-editor 后,markdown 文本上传图片的功能,所以测试也是使用的其提供的回调方法。
这里有个坑,即 v-md-editor 提供的上传图片回调方法必须使用 formdata 格式上传,否则后端会报错!
4.1 api 接口
以下我自己封装的 axios 实例 http.js,如果你有自己的实例,可以忽略以下代码.
1
2
3
4
5
6
7
8
9
10
11
12
13
14
15
16
17
18
19
20
21
22
23
24
25
26
27
28
29
30
31
32
33
34
35
36
37
|
import axios from 'axios'
import { authStore } from '@/stores/auth'
import router from '@/router'
const httpInstance = axios.create({
baseURL: 'http://localhost:18081',
timeout: 5000
})
httpInstance.interceptors.request.use(config => {
config.headers['token'] = authStore().token
return config
}, e => Promise.reject(e))
httpInstance.interceptors.response.use(res => {
if ("token" in res.headers) {
authStore().setToken(res.headers["token"])
}
if (res.data.code === 401) {
router.push('/login')
authStore().removeToken();
authStore().removeUserAuth();
}
return res.data
}, e => {
return Promise.reject(e)
})
export default httpInstance
|
这里会用到上述 httpInstance 实例。
picture.js:
1
2
3
4
5
6
7
8
9
| import httpInstance from '@/utils/http'
export function uploadImageAPI(file) {
return httpInstance({
url: `/admin/picture/uploadImage`,
method: 'post',
data: file
})
}
|
4.2 调用接口
这里会忽略掉无关代码。
AddNotice.vue:
1
2
3
4
5
6
7
8
9
10
11
12
13
14
15
16
17
18
19
20
21
22
23
24
25
26
27
28
29
30
31
32
33
34
35
36
37
38
39
40
41
42
43
44
45
46
47
48
49
50
| <script setup>
import { ElMessage } from "element-plus";
import { uploadImageAPI } from "@/apis/admin/picture";
const uploadImage = async (insertImage, file) => {
const formData = new FormData();
formData.append("file", file);
const res = await uploadImageAPI(formData);
if (res.code === 200) {
insertImage({
url: res.data.path,
desc: res.data.id,
});
ElMessage({
type: "success",
message: "图片上传成功",
plain: true,
});
} else {
ElMessage({
type: "error",
message: res.msg,
plain: true,
});
}
};
const handleUploadImage = (event, insertImage, files) => {
console.log(files[0]);
uploadImage(insertImage, files[0]);
};
</script>
<template>
<div class="add-notice">
<v-md-editor
v-model="addNotice.content"
height="calc(100% - 150px)"
:include-level="[1, 2, 3]"
@save="saveLocal"
@blur="saveLocal"
:disabled-menus="[]"
@upload-image="handleUploadImage"
></v-md-editor>
</div>
</template>
|
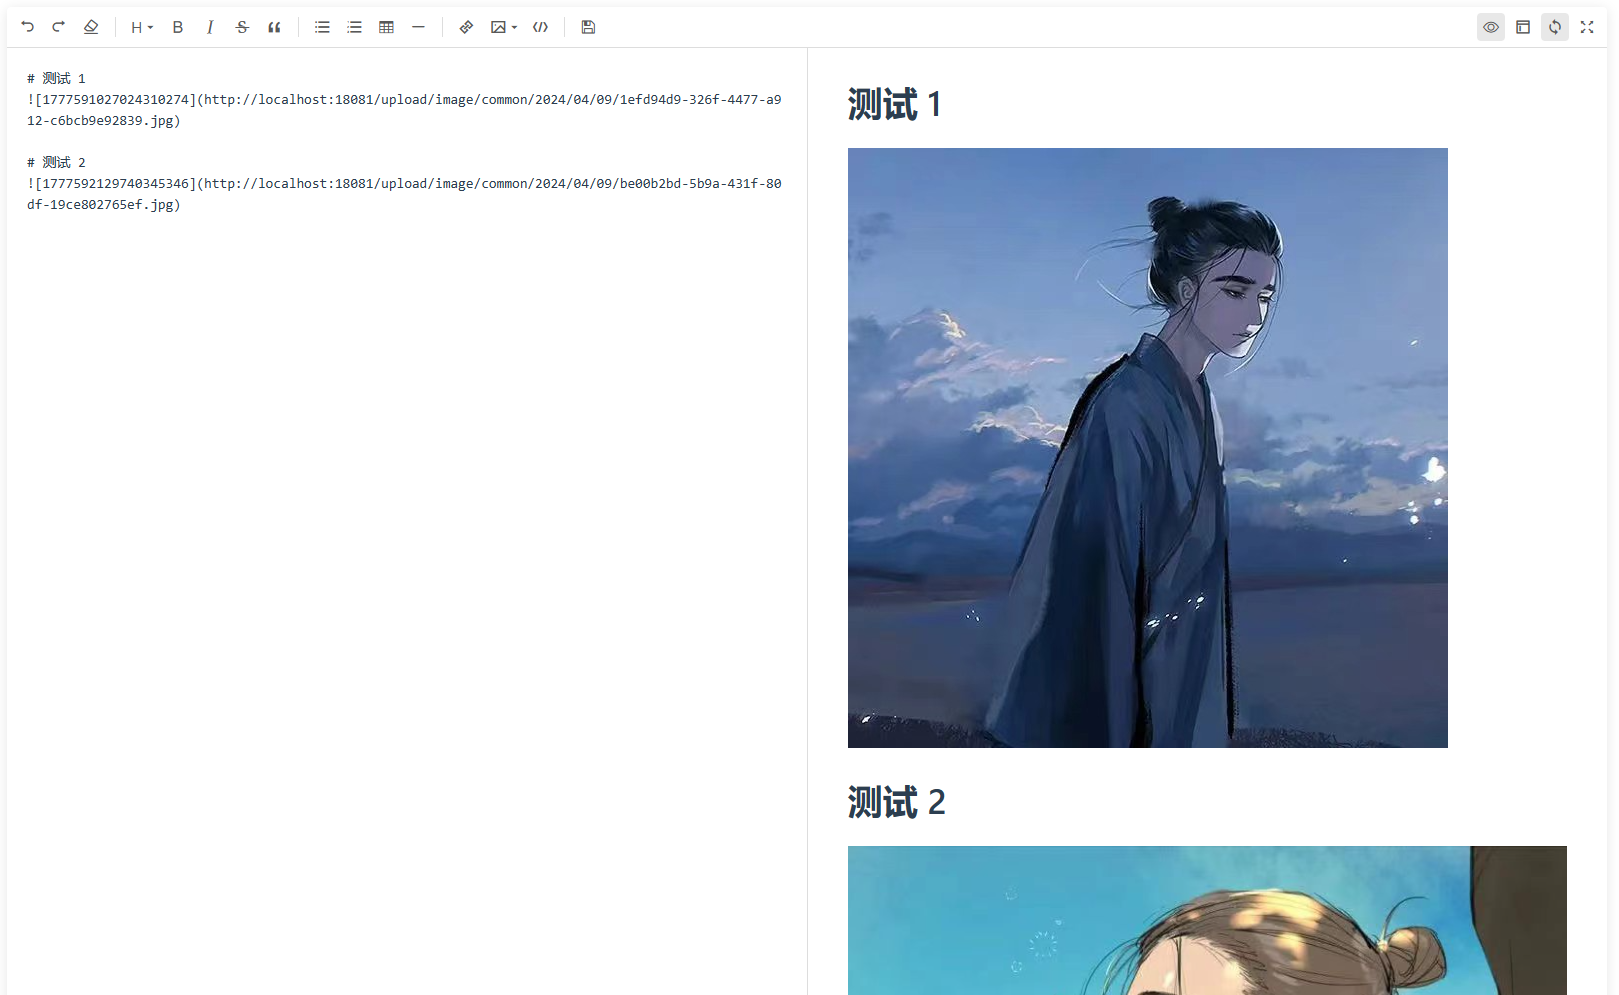
5 效果展示

6 踩坑记录
对于 v-md-editor 中图片上传的数据格式,必须要使用 formdata 来进行封装才行,而不是一味的修改请求 headers 中的 Content-Type。
封装 formdata 关键代码:
1
2
| const formData = new FormData();
formData.append("file", file);
|
封装完成后即可将 formdata 作为 file 对象传输给后端。
但是对于 elementUI 中的文件上传,则可以使用原格式,不需要封装 formdata,即修改 headers 即可。
修改 headers 示例如下:
1
2
3
4
5
6
7
8
9
10
| export function uploadImage(file) {
return request({
headers: {
'Content-Type': 'multipart/form-data',
},
url: `/admin/picture/uploadImage`,
method: 'post',
data: file
})
}
|
7 写在最后
v-md-editor 官网:https://code-farmer-i.github.io/vue-markdown-editor/zh/
关于 v-md-editor 图片上传,参考:https://code-farmer-i.github.io/vue-markdown-editor/zh/senior/upload-image.html
最后感慨一句,vue3 整合 v-md-editor 成功后,是真的帅啊!